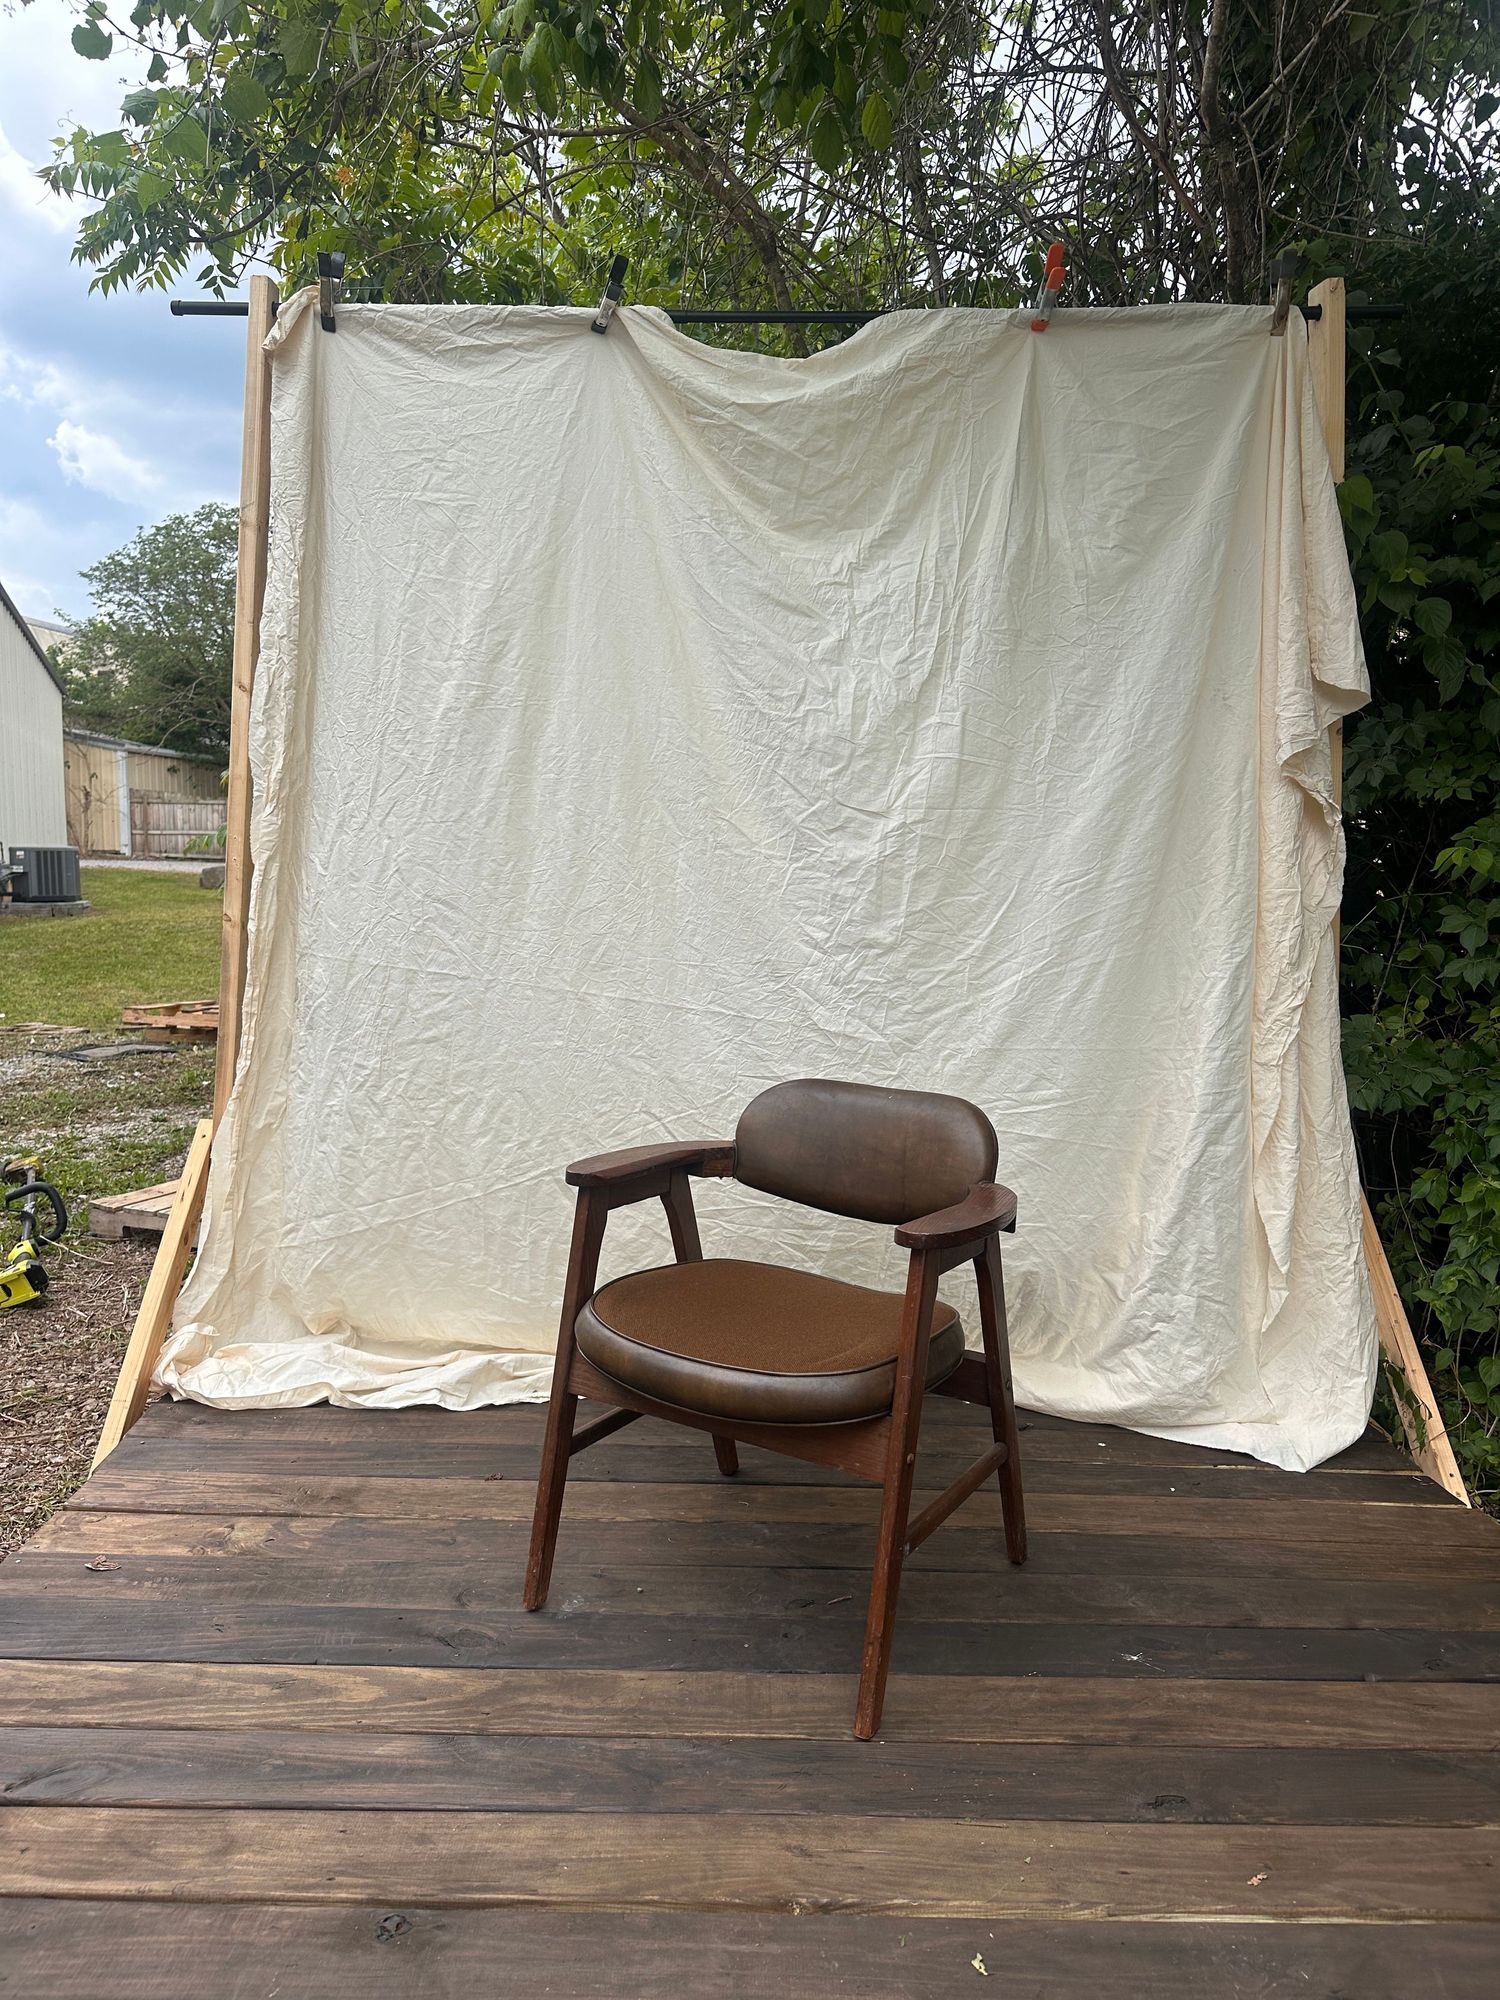
the idea
I own an indoor photography studio in Columbia, TN and behind the studio it is a large area I've eyed for a long time to turn into an outdoor photography studio - I just felt I didn't have the time. I'm an outdoors girl - not camping but just being outside - I have an award winning farmer's tan every year! I love shooting outdoors. I feel more free and not constrained. I am more creative outdoors. So I did some research, thought about what I love to shoot and started creating a plan. My first was this set - Vintage Editorial.
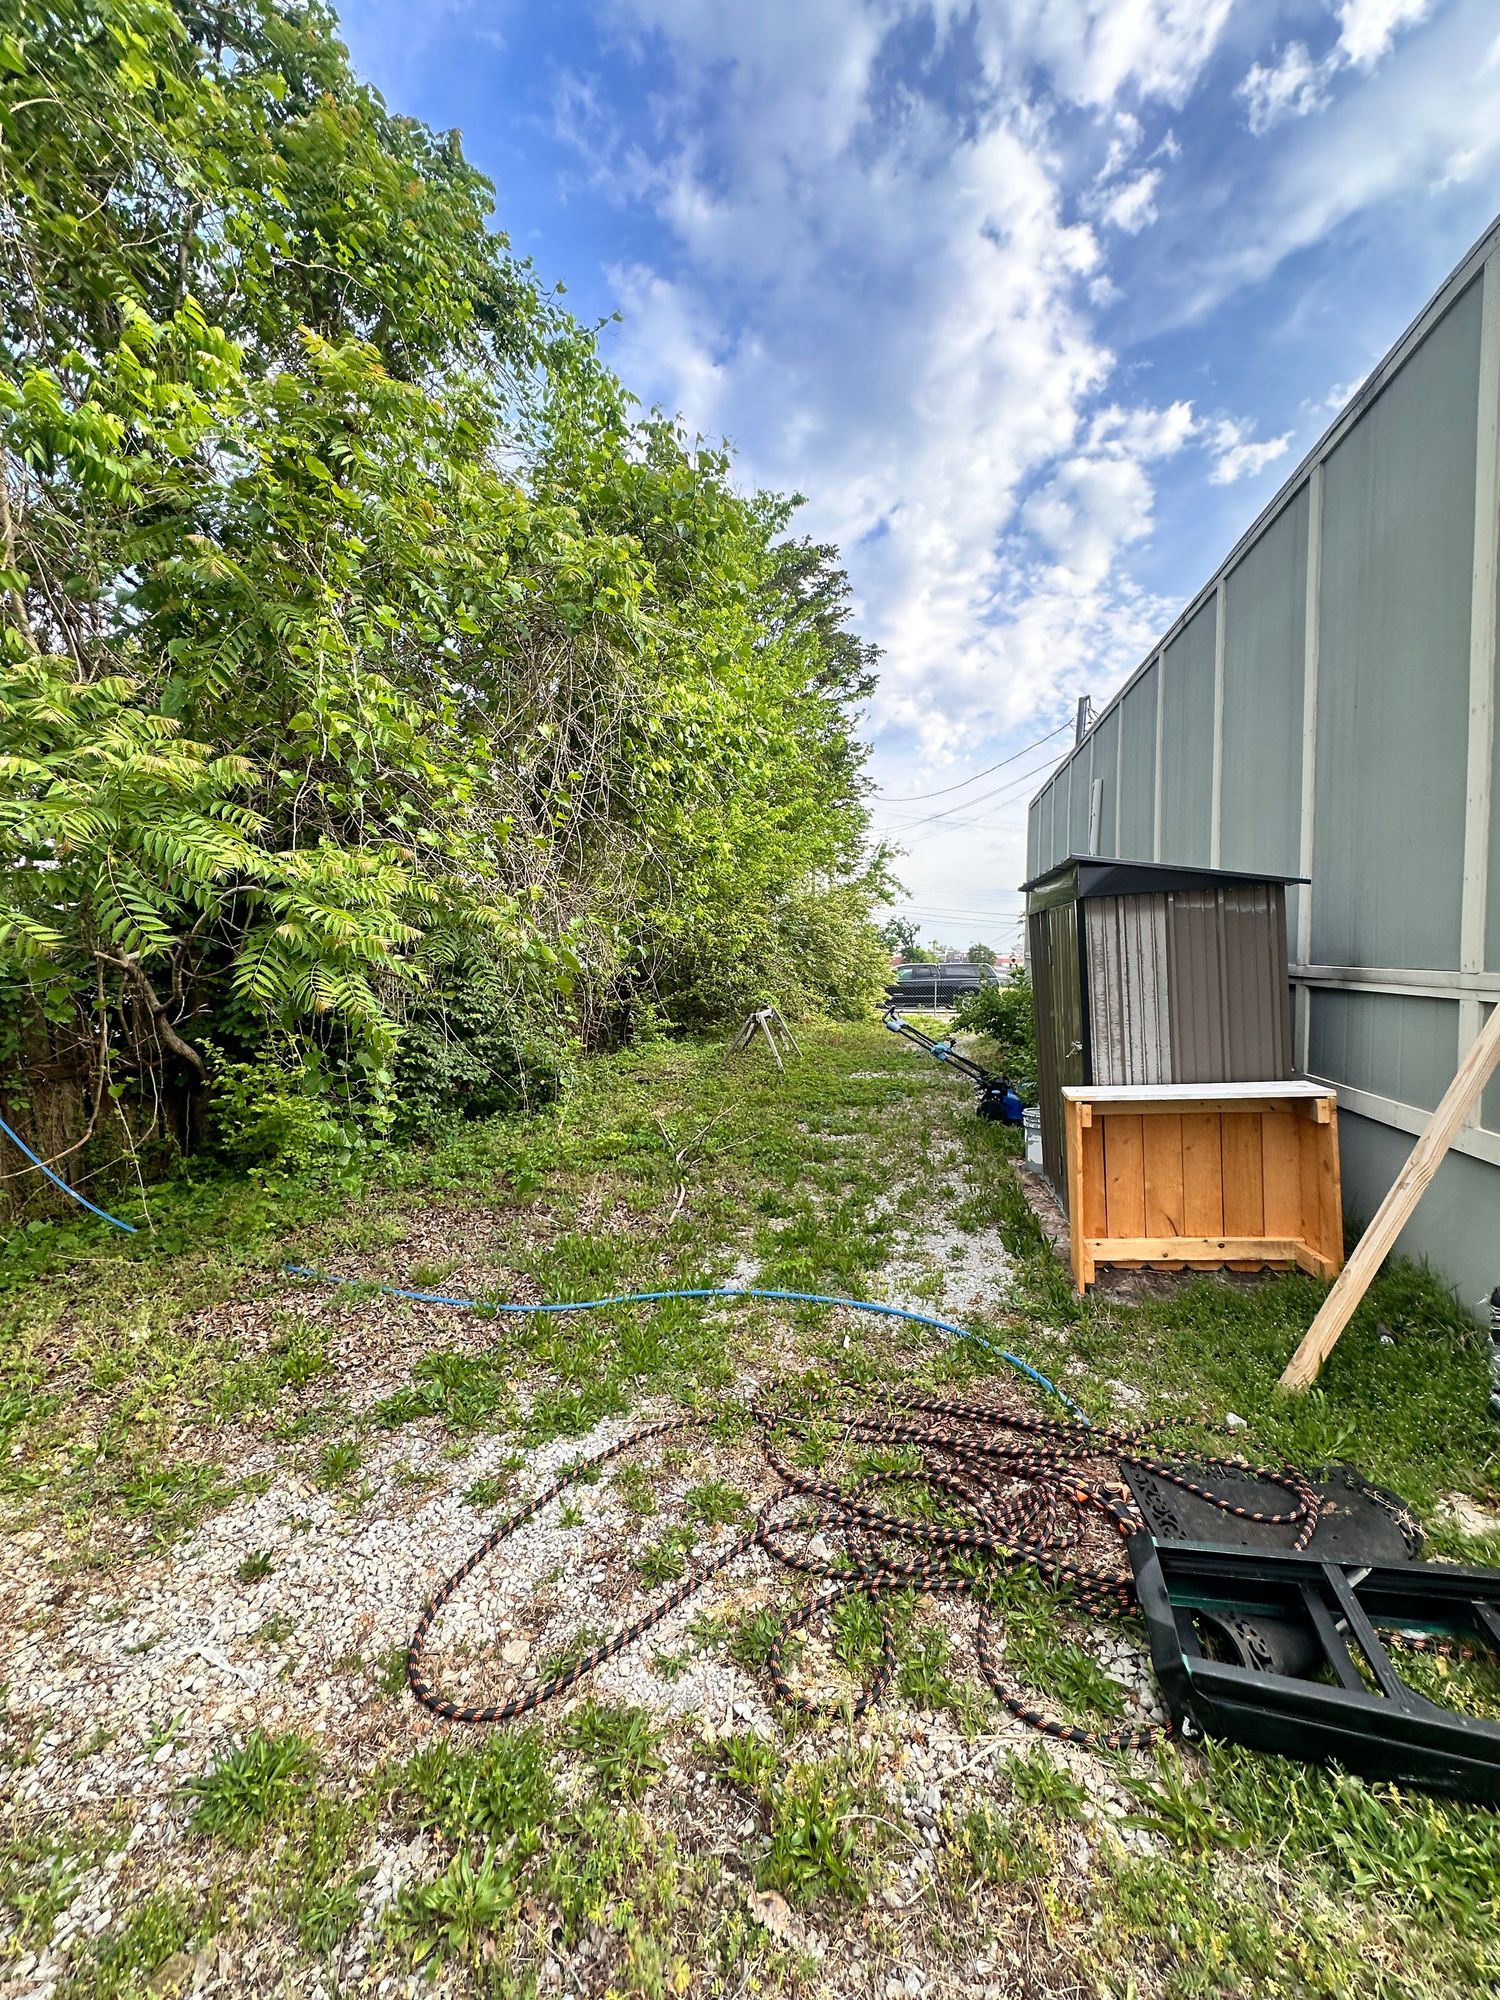
The Space Before
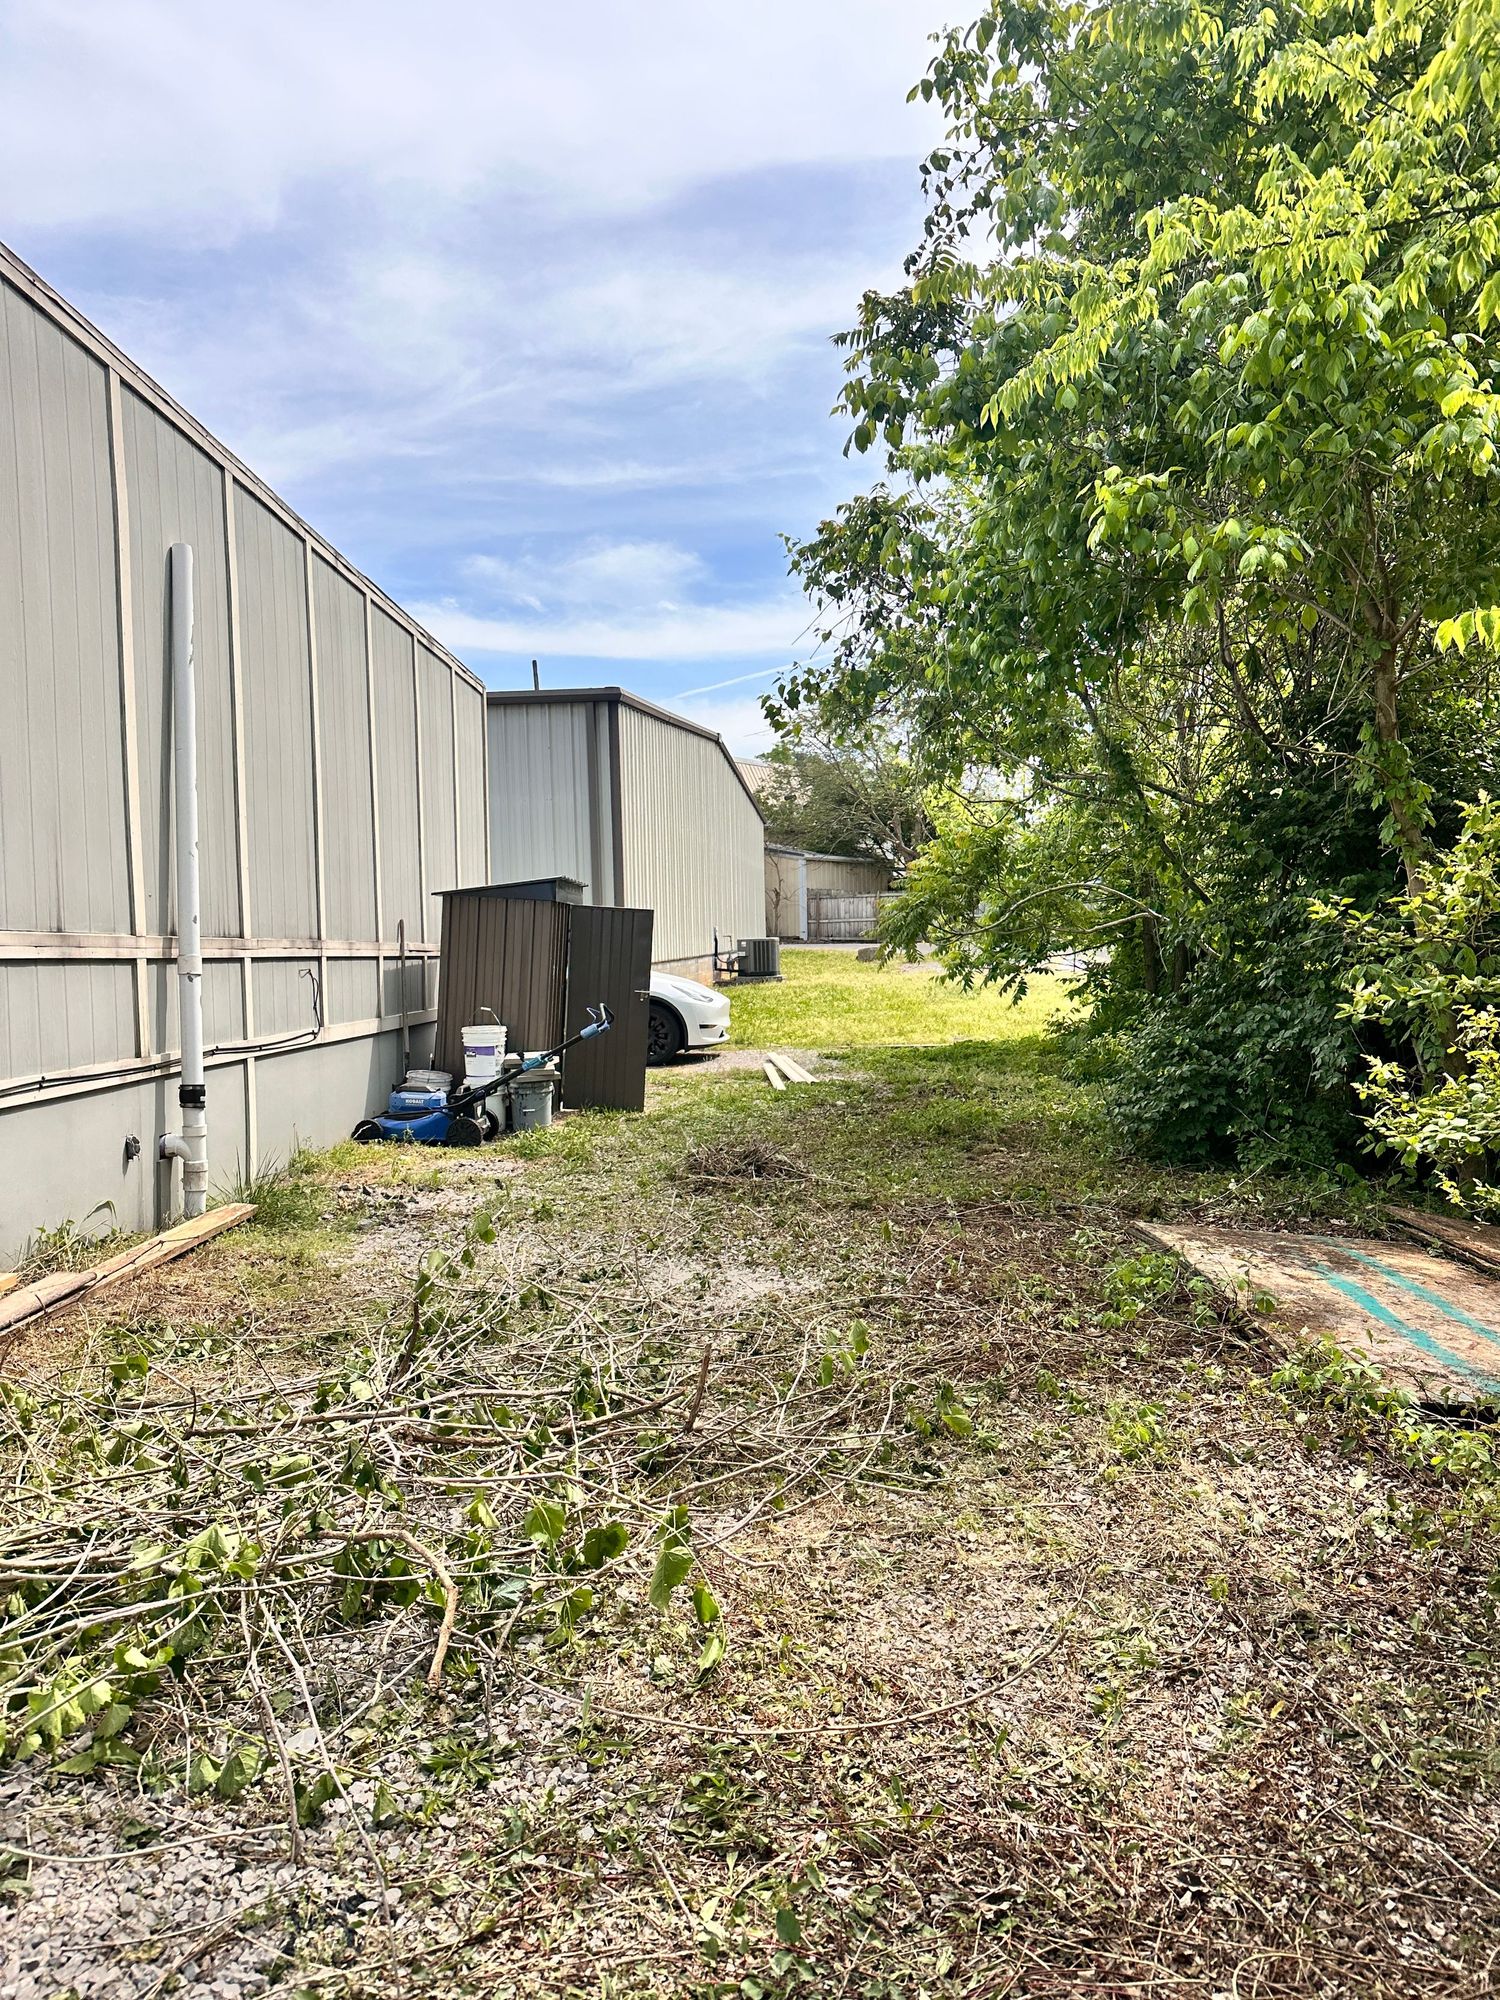
The Space Before
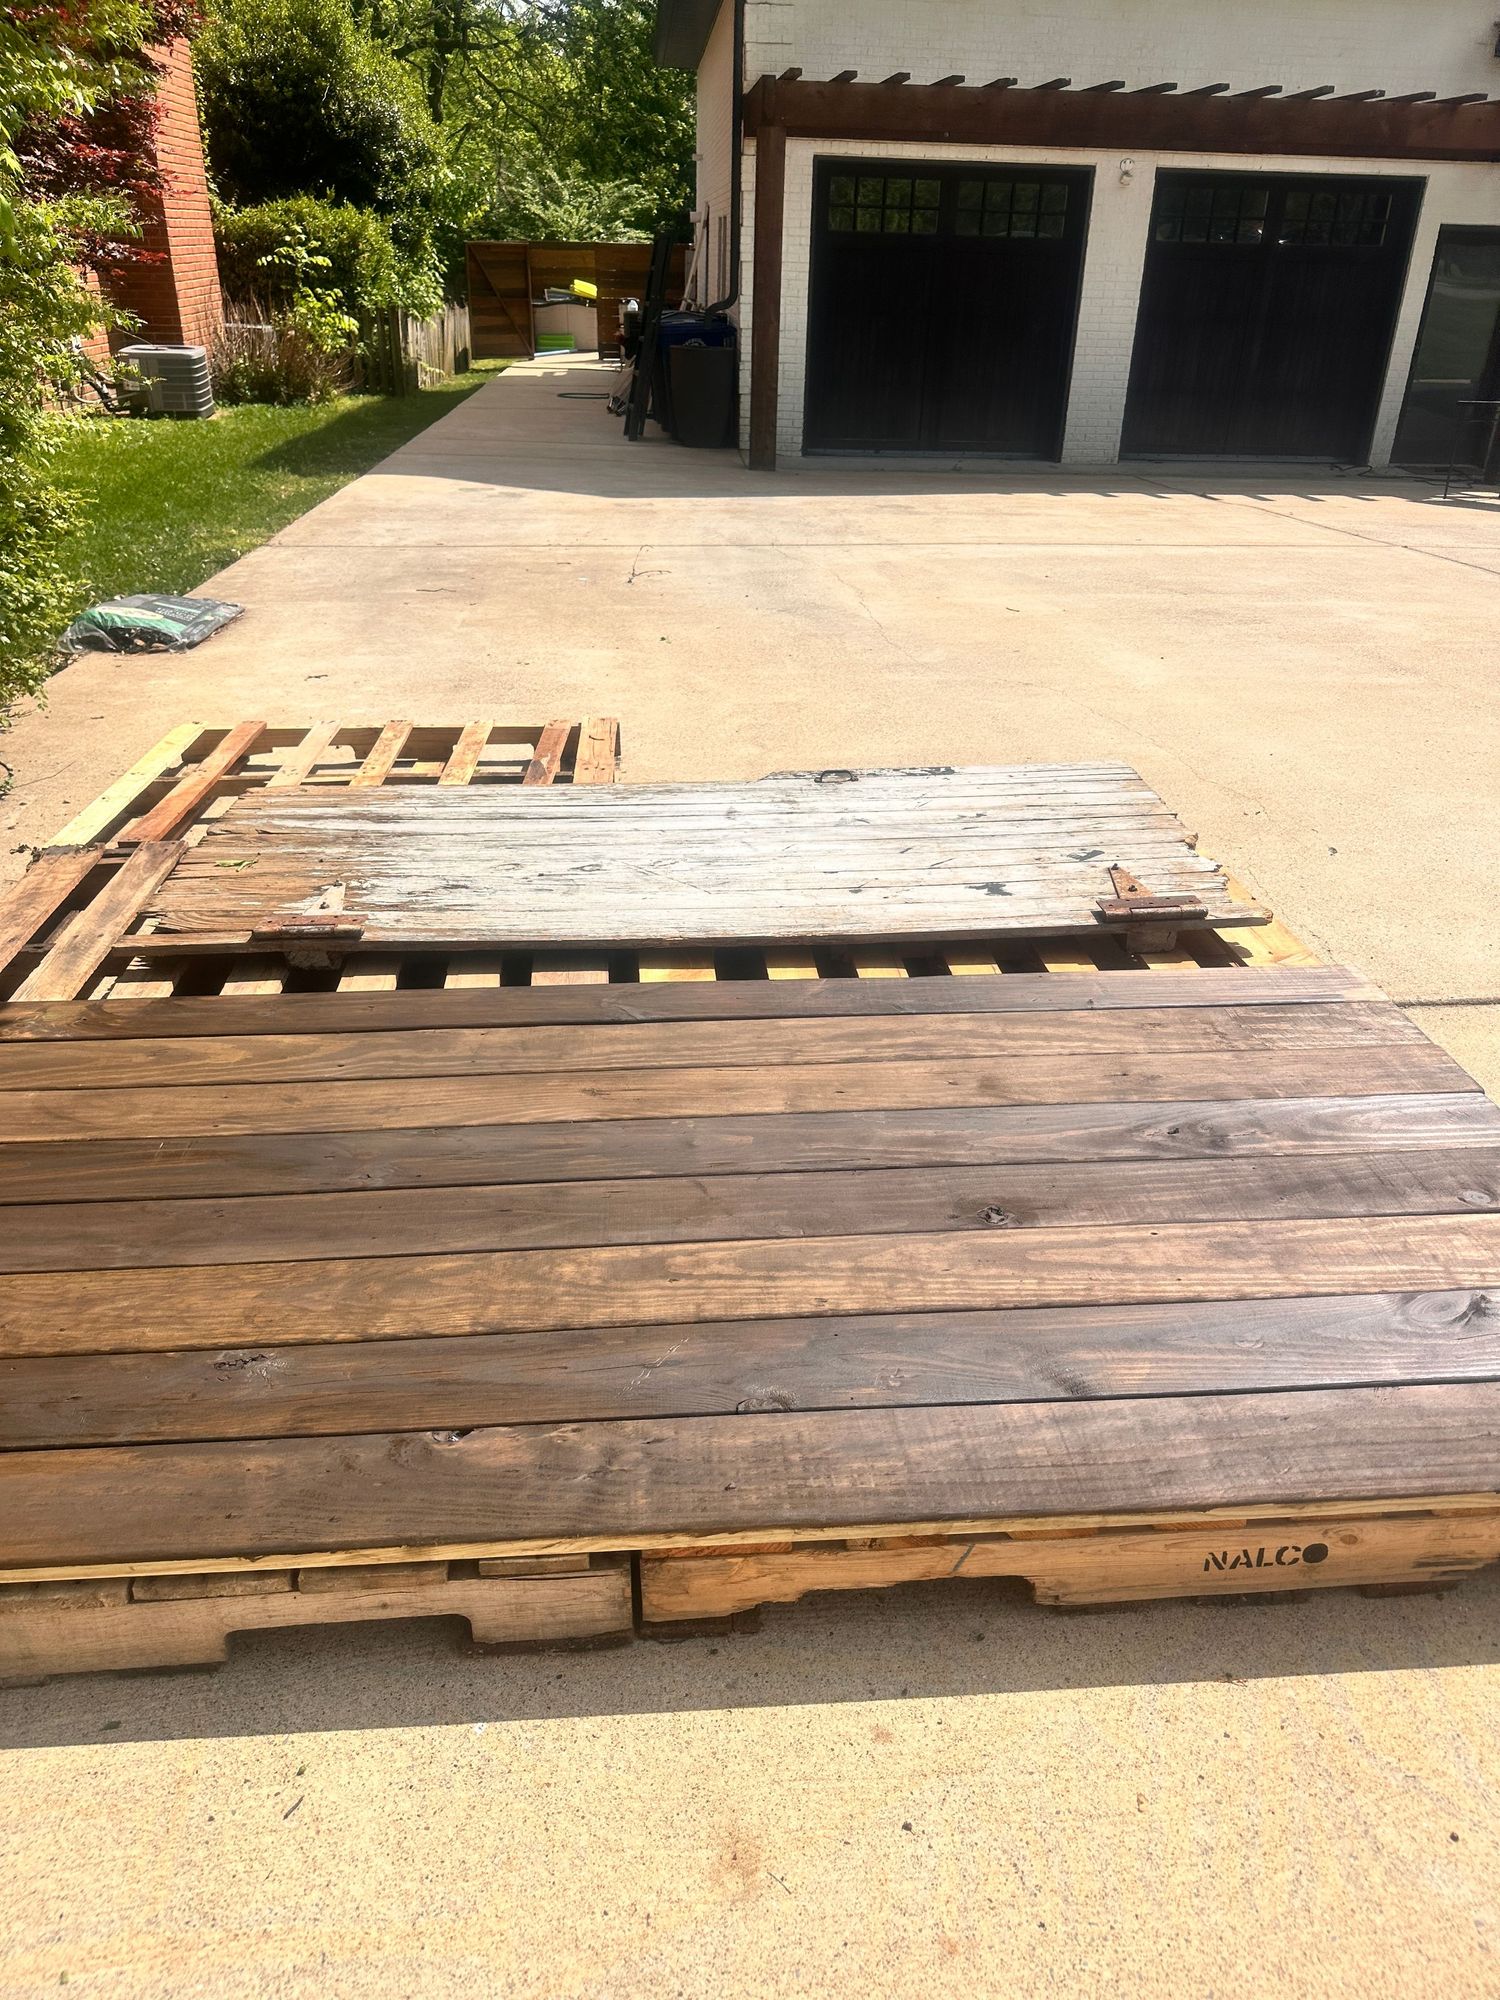
The planks
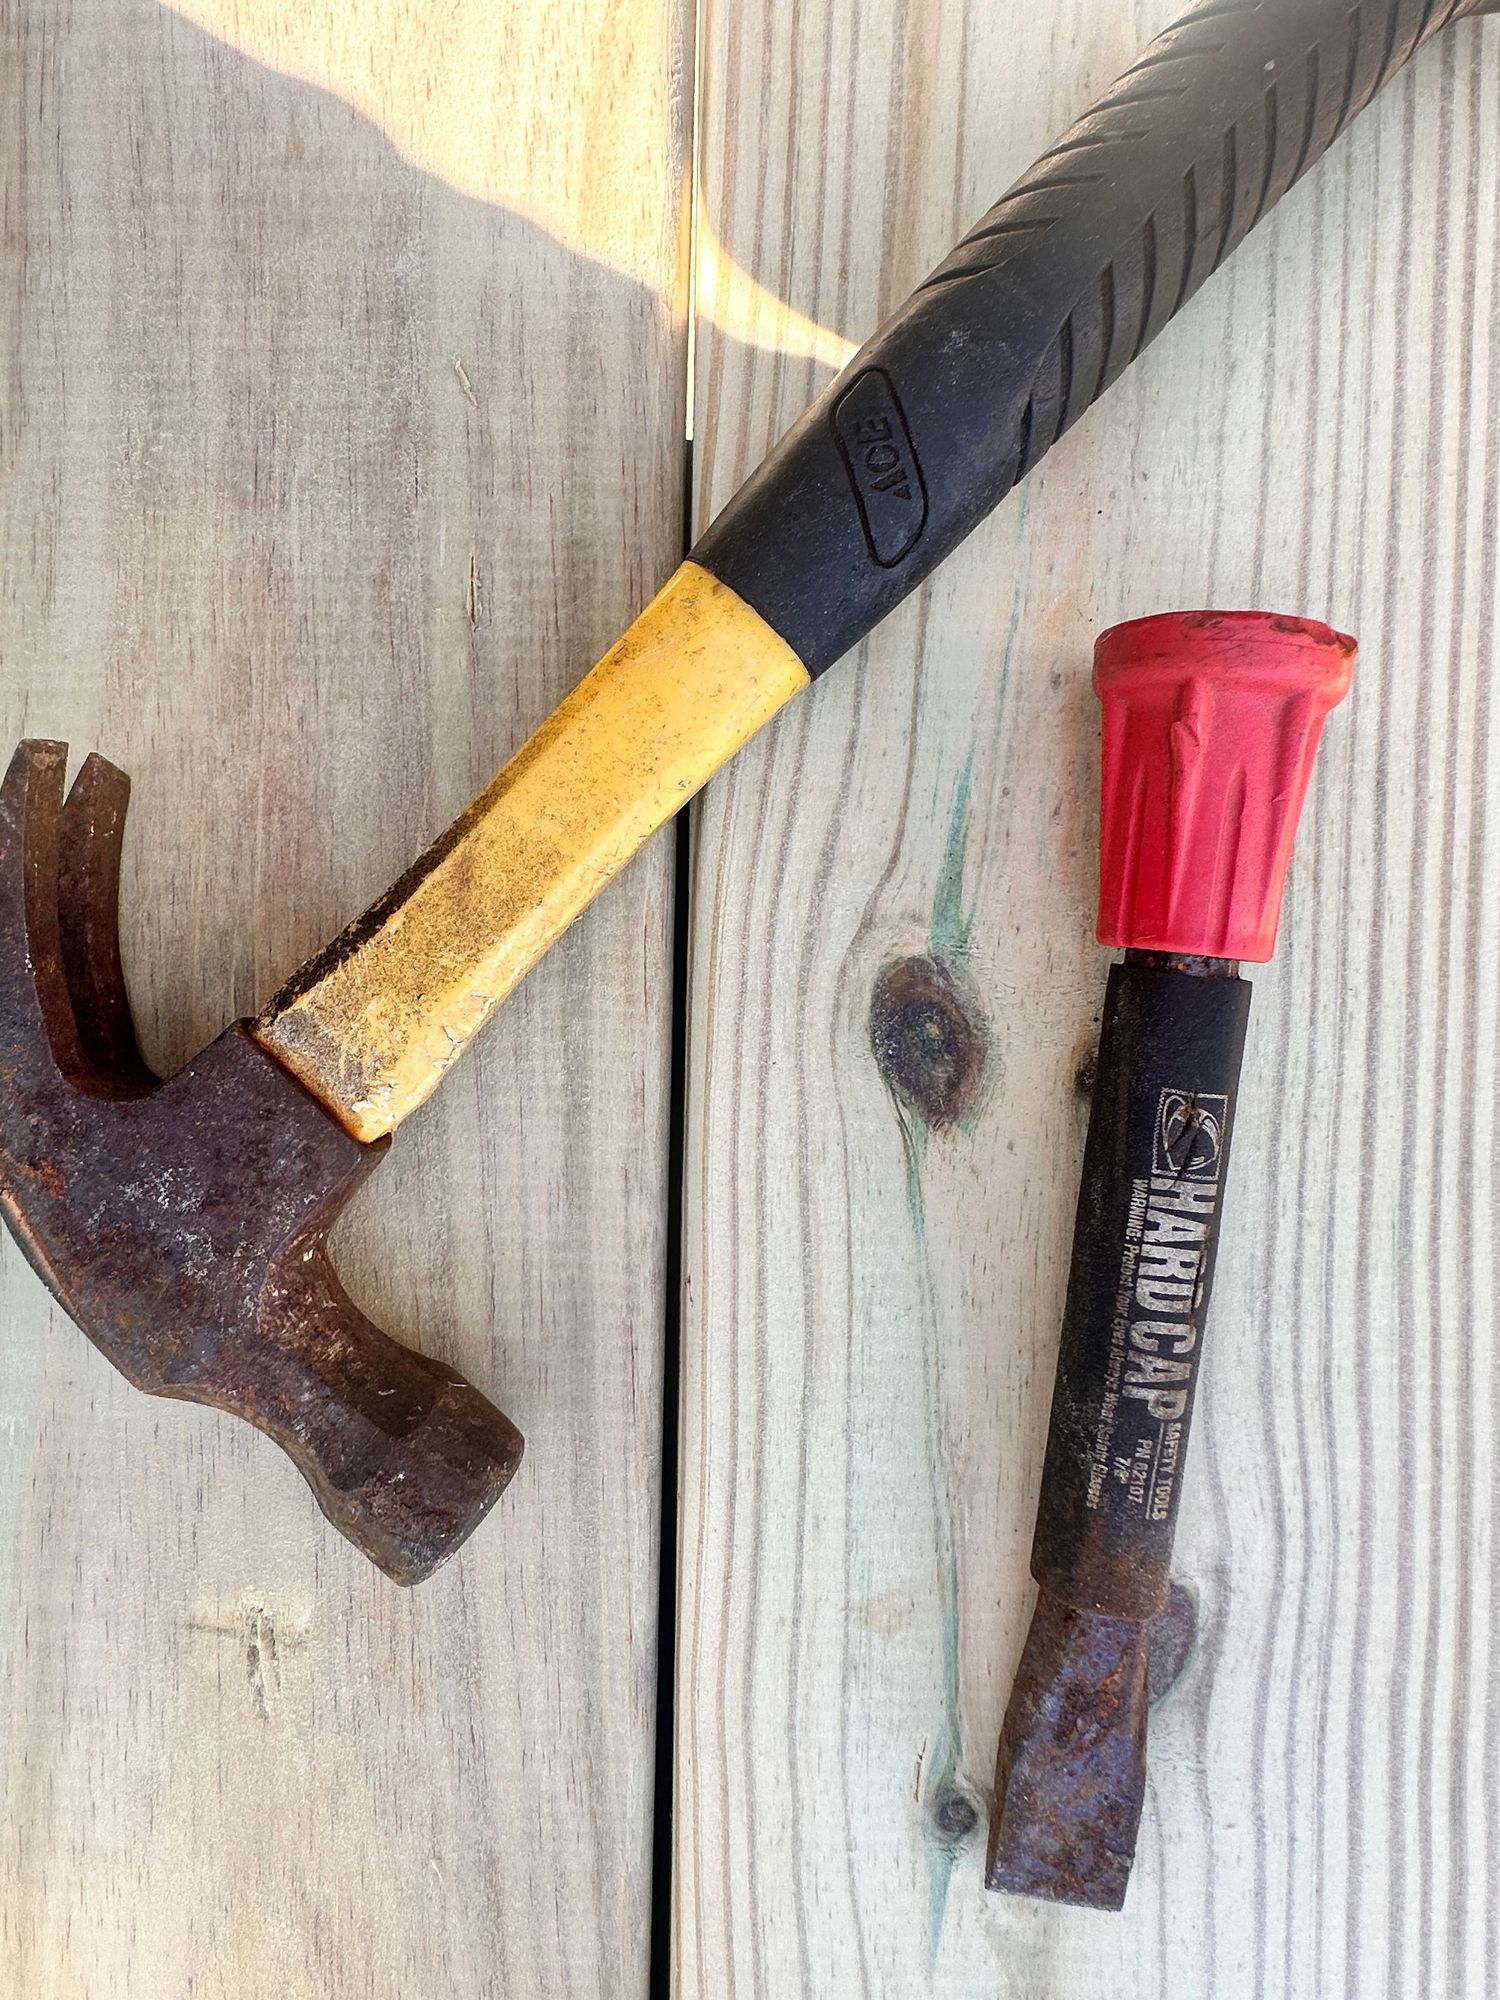
I wanted the floor to look old and beat up but was not in my budget to buy old floors or barnwood. So with a hammer, chisel, screwdriver and sander, I beat up the plywood. It was very therapeutic. No rhyme or reason. Just bang, scrape, dig, repeat. After I finished I started sanding the entire plank to give it a smoother feel and get rid of the wood chips still attached.


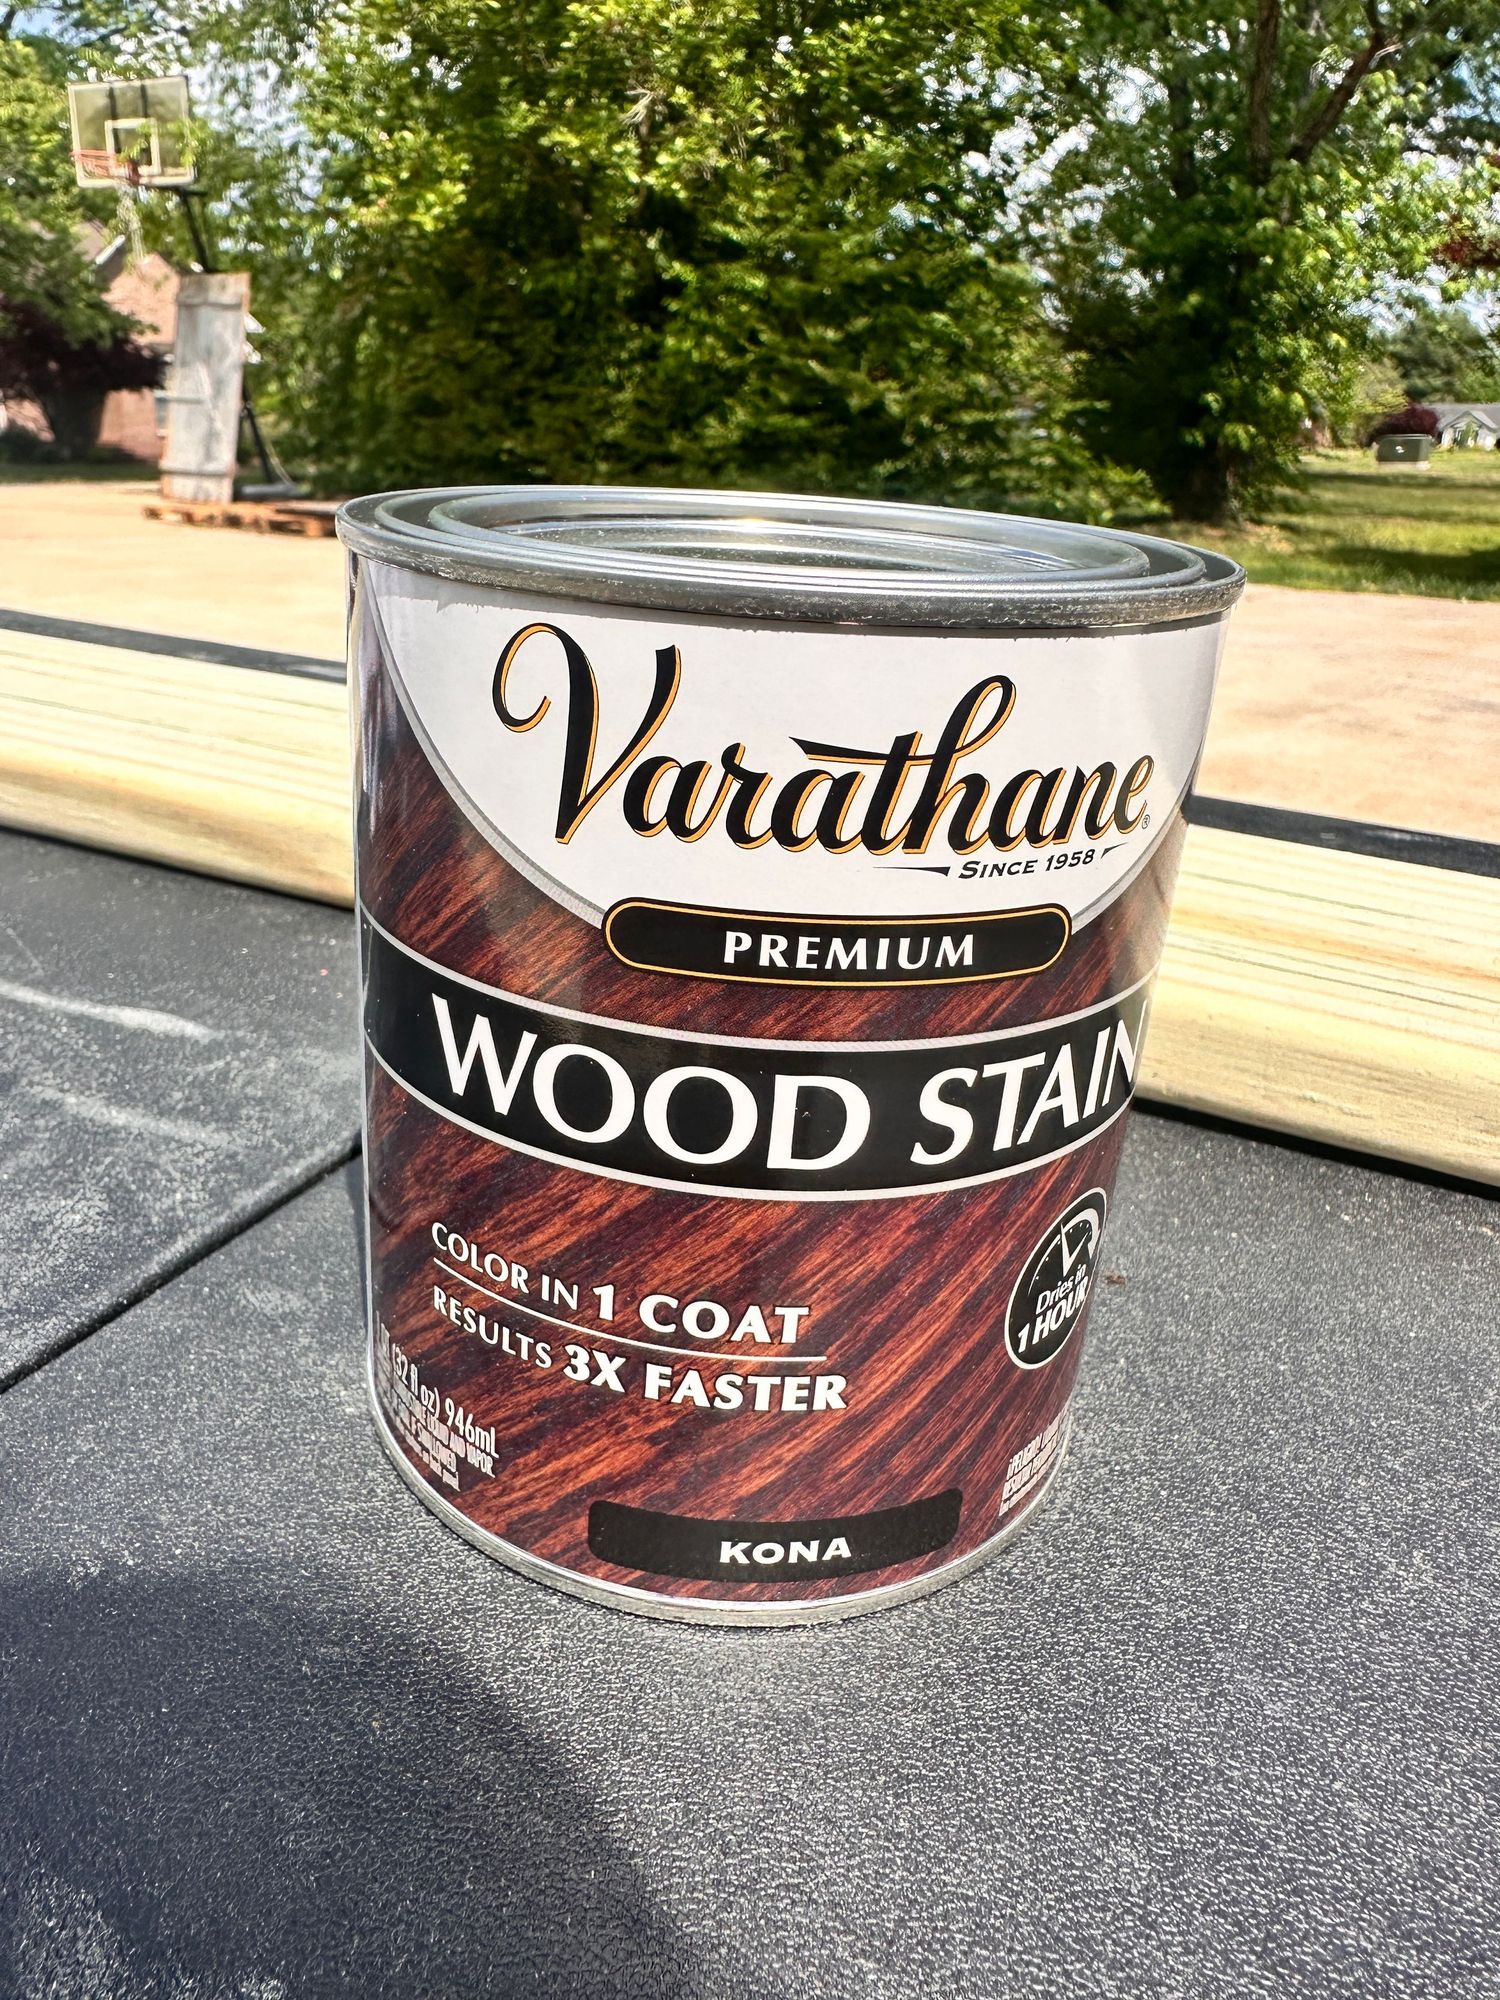
Next was staining. I used a wood conditioner then applied the stain. I wanted a warm brown and Kona by Varathane did the trick. I stained some boards darker, so it gave more depth and texture. I suggest using gloves. I did not have any and was impatient to start. My cuticles were stained for days. Fair warning.
assembly
After I organized the pallets, I attached the backdrop support with lag bolts. I also drilled holes to the top of the 2x4's (do this before being attached) to insert the rod through. For the supports you can find plans online. I then installed the rod. I wanted a more editorial vibe so I used industrial clips to clip the muslin. Why muslin? I thought about canvas but muslin is lighter and falls differently - more romantic. I also love the crinkle of the texture which was a surprise. When I received the fabric it was stiffer and had no crinkles. However, I washed and dried it and now it is soft and moves with the wind.


materials
- 4 pallets - Must be same size and height (Free of Marketplace)
- 18 Pressure treated Kiln dried (a must or you can't stain immediately) 8' 2x4's (Buy Here)
- 3 yards of Muslin (Buy Here)
- 1 quart of stain - I went with Kona by Varathane but it's really a personal choice (Buy Here) then sealed it with an outdoor polyurethane
- Expanding Curtain Rod - I bought mine at Walmart. If you don't have an attachment to drill the hole, you could use the wall mount that comes with it. (Buy Here)
- 4 Clamps - I suggest metal - they photograph better if you want a pull back
- Drill - I'm a Milwaukee fan but they are pricier.
- Hammer - get a heavy one. Hammering nails through plywood and a pallet is difficult.
- Screws & Nails
- 4 Lag Bolts
Total I Spent: $165 as I already had bolts, clamps and pallets.
the results


I learned to build when I turned 35 to help me heal. Creating and using my hands healed me and I find myself again walking through a very dark part of life and building these sets - therapy.
Follow The Pink Daisy Studio on Instagram to see the progress and evolution.


